Let’s get started on your sourdough journey!
Sourdough has been a pretty popular topic since 2020 when yeast became scarce and everyone was trying to figure out how to have bread in their homes when the store shelves were bare. I tend to jump on bandwagons a little late with these types of things so I waited and observed for a year. Finally, I was intrigued enough after hearing about the health benefits of fermenting grains. I was around 5 months pregnant with my second child when I started. I was also working full time as a teacher, but had plans to stay home after the birth of the baby. I knew that baking our bread was going to be something important for my family regarding our health and our budget.
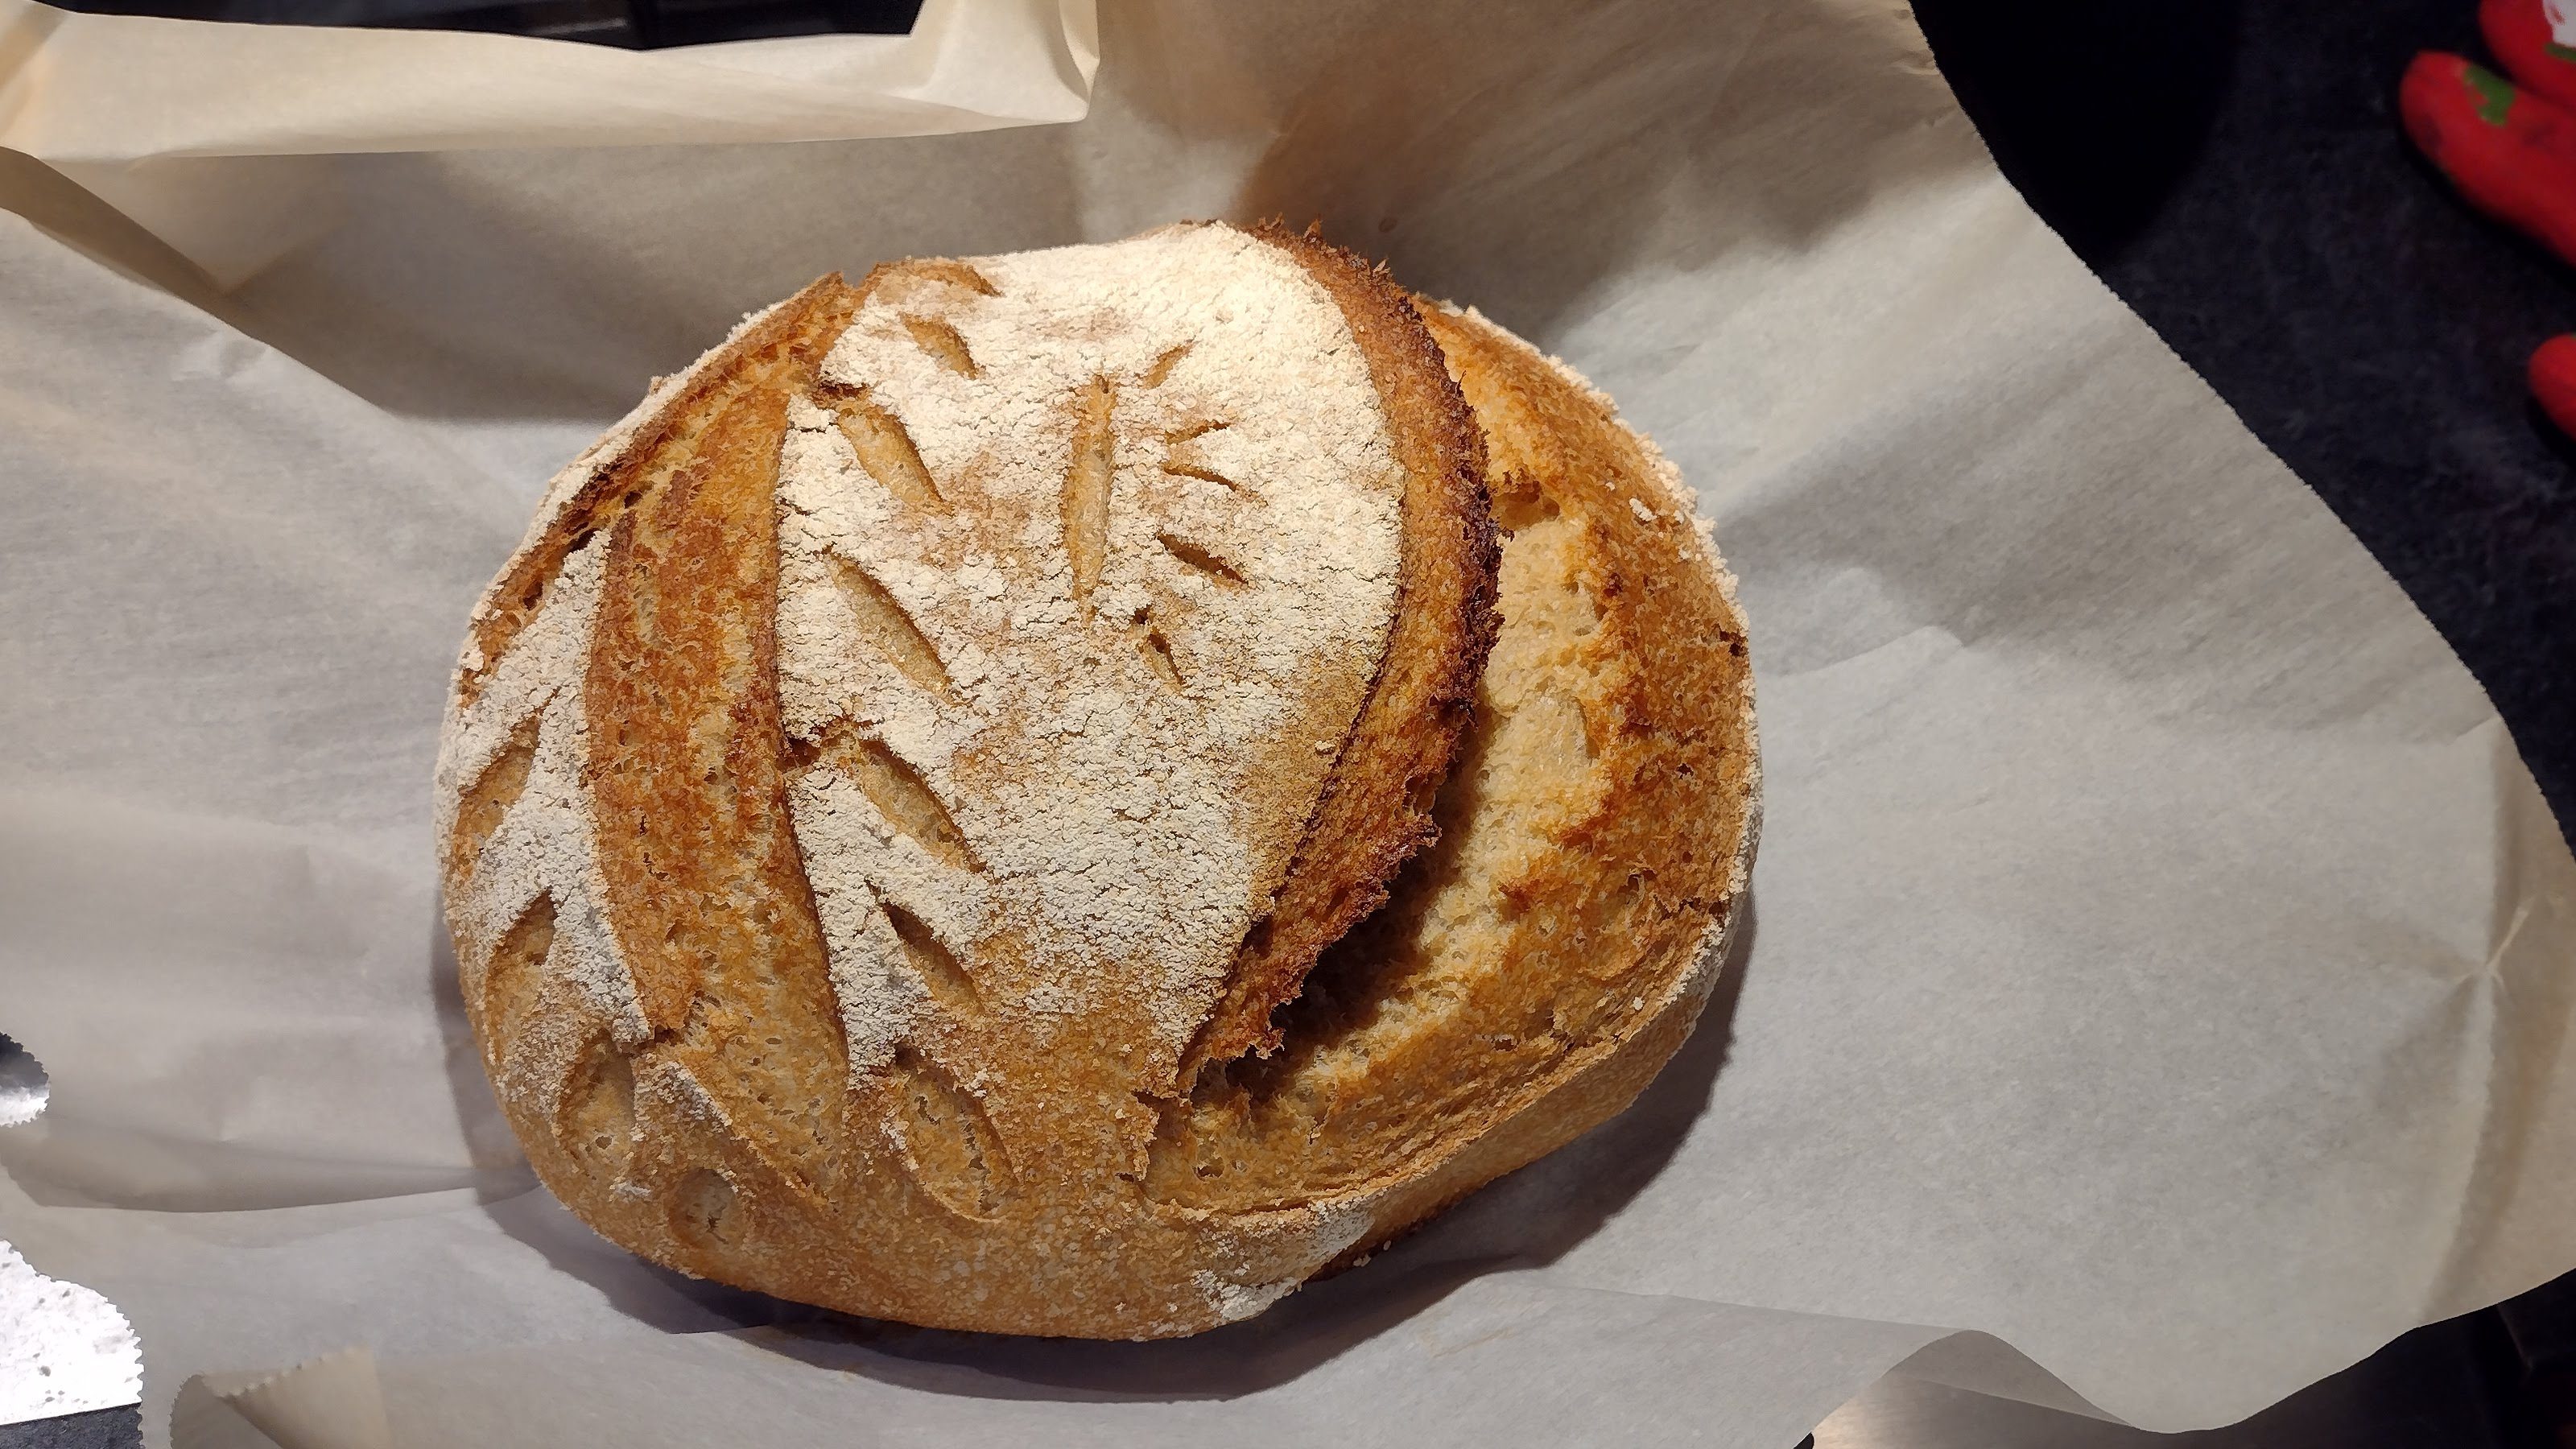
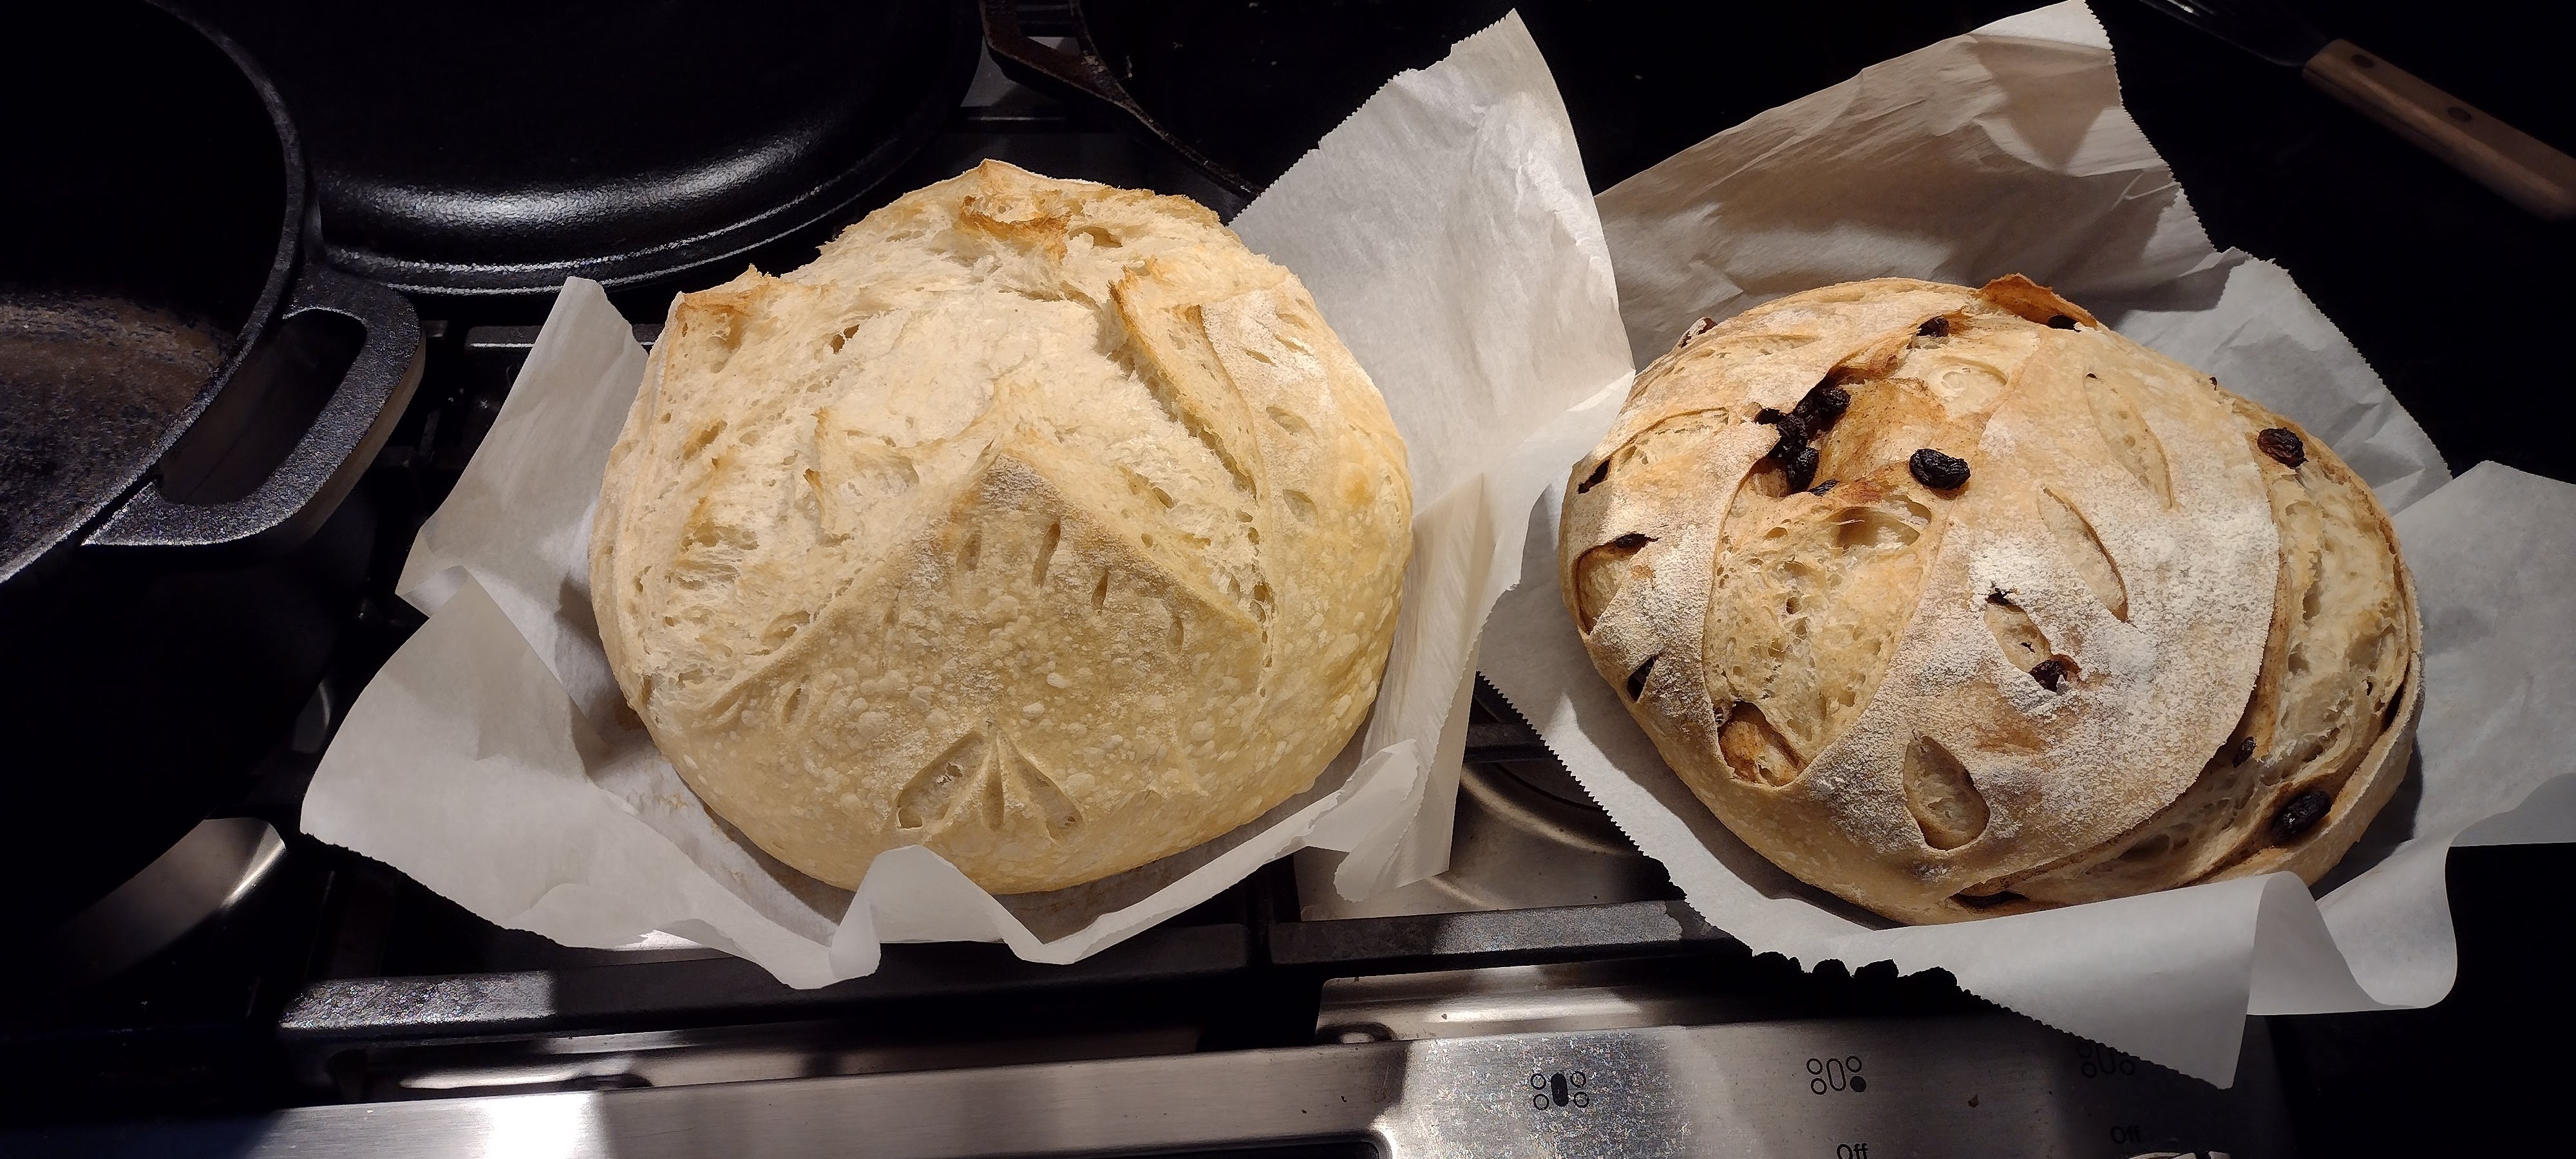
I’m happy to say that my starter is just about 4 years old and going strong. I’ve made countless, delicious foods with my starter. Breads, cakes, cookies, tortillas, crackers, and more. When I talk about all of the possibilities with sourdough I know some people get intimidated. And trust me, I was intimidated at first as well when I saw all of the recipes, videos, and photos of things people made with sourdough. So I recommend that you just start with making bread first. You don’t have to make all of the sourdough things when you first get started! Get familiar with your starter, learn how to feed it best for a good bread rise, and work on your bread techniques. Now, let’s get into the steps to create your own sourdough starter!
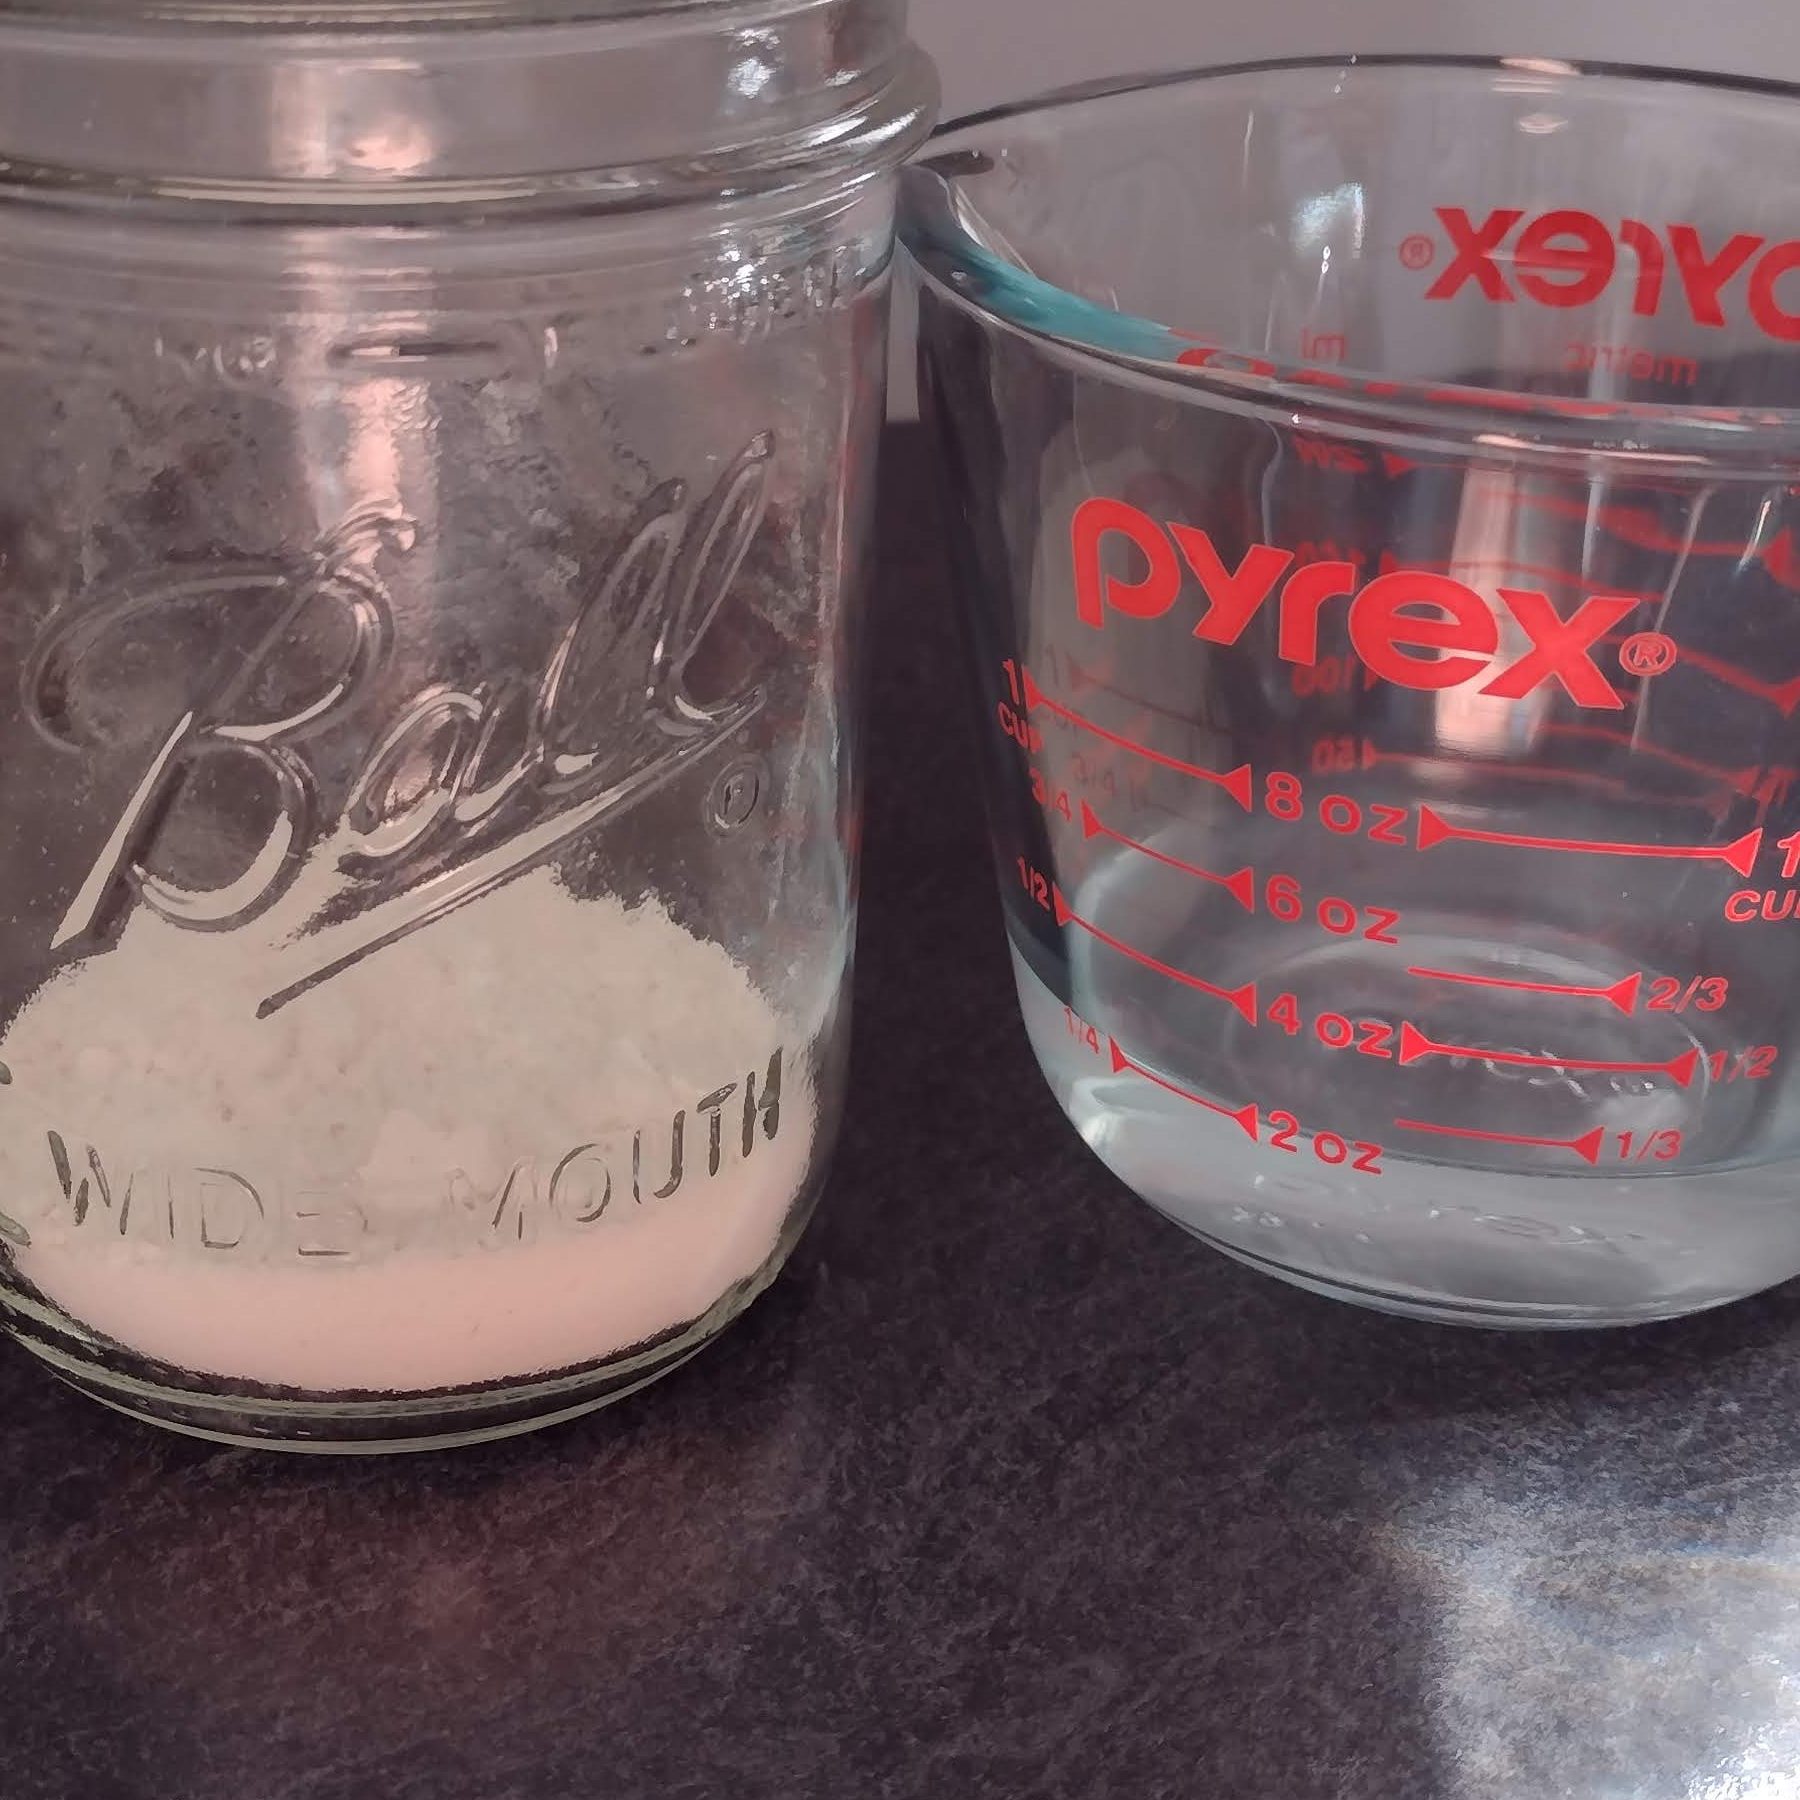
Day 1: You will mix one part flour(unbleached all purpose) and one part filtered water. (It’s very important that it is filtered or distilled). This should be a small amount at first. I recommend about 1/4 c of each. Mix them together very well in a glass jar. Wide mouth mason jars work wonderfully! Next you’ll want to cover your jar with a clean cloth and a rubber band. Try to keep it in a warm place in your house. If it’s summer, anywhere in your kitchen will probably be fine. In the winter, maybe keep it near your oven or even a wood stove. You will want to wait roughly 24 hours before you discard and feed.
Day 2: This is the first day you will discard. Since I don’t like wasting flour, I like to discard into a separate container that I will use for something later. When you discard you will scoop about half of your mixture and place it in the other container. Next, you will feed it again by adding another 1/4 c of flour and water. Cover and keep in a warm place again. The discard container should be kept in the refrigerator with a regular lid. Again, wait about 24 hours before discarding and feeding again. You need to give it enough time to ferment.
Days 3-7: You will continue doing the same discard and feed method from Day 2. Eventually you will want to see some bubble action like in the picture below. I also recommend that around Day 4 or 5 you start feeding with a higher ratio of flour to water. So maybe you will feed with 1/3 or 1/2 c of flour and 1/4 c of water. I’ve found that having a higher amount of flour encourages structure in the starter as it develops throughout the week. Just make sure that all of the flour gets fully incorporated. Again, discard about half of the mixture into your separate container that you’re storing in the refrigerator.
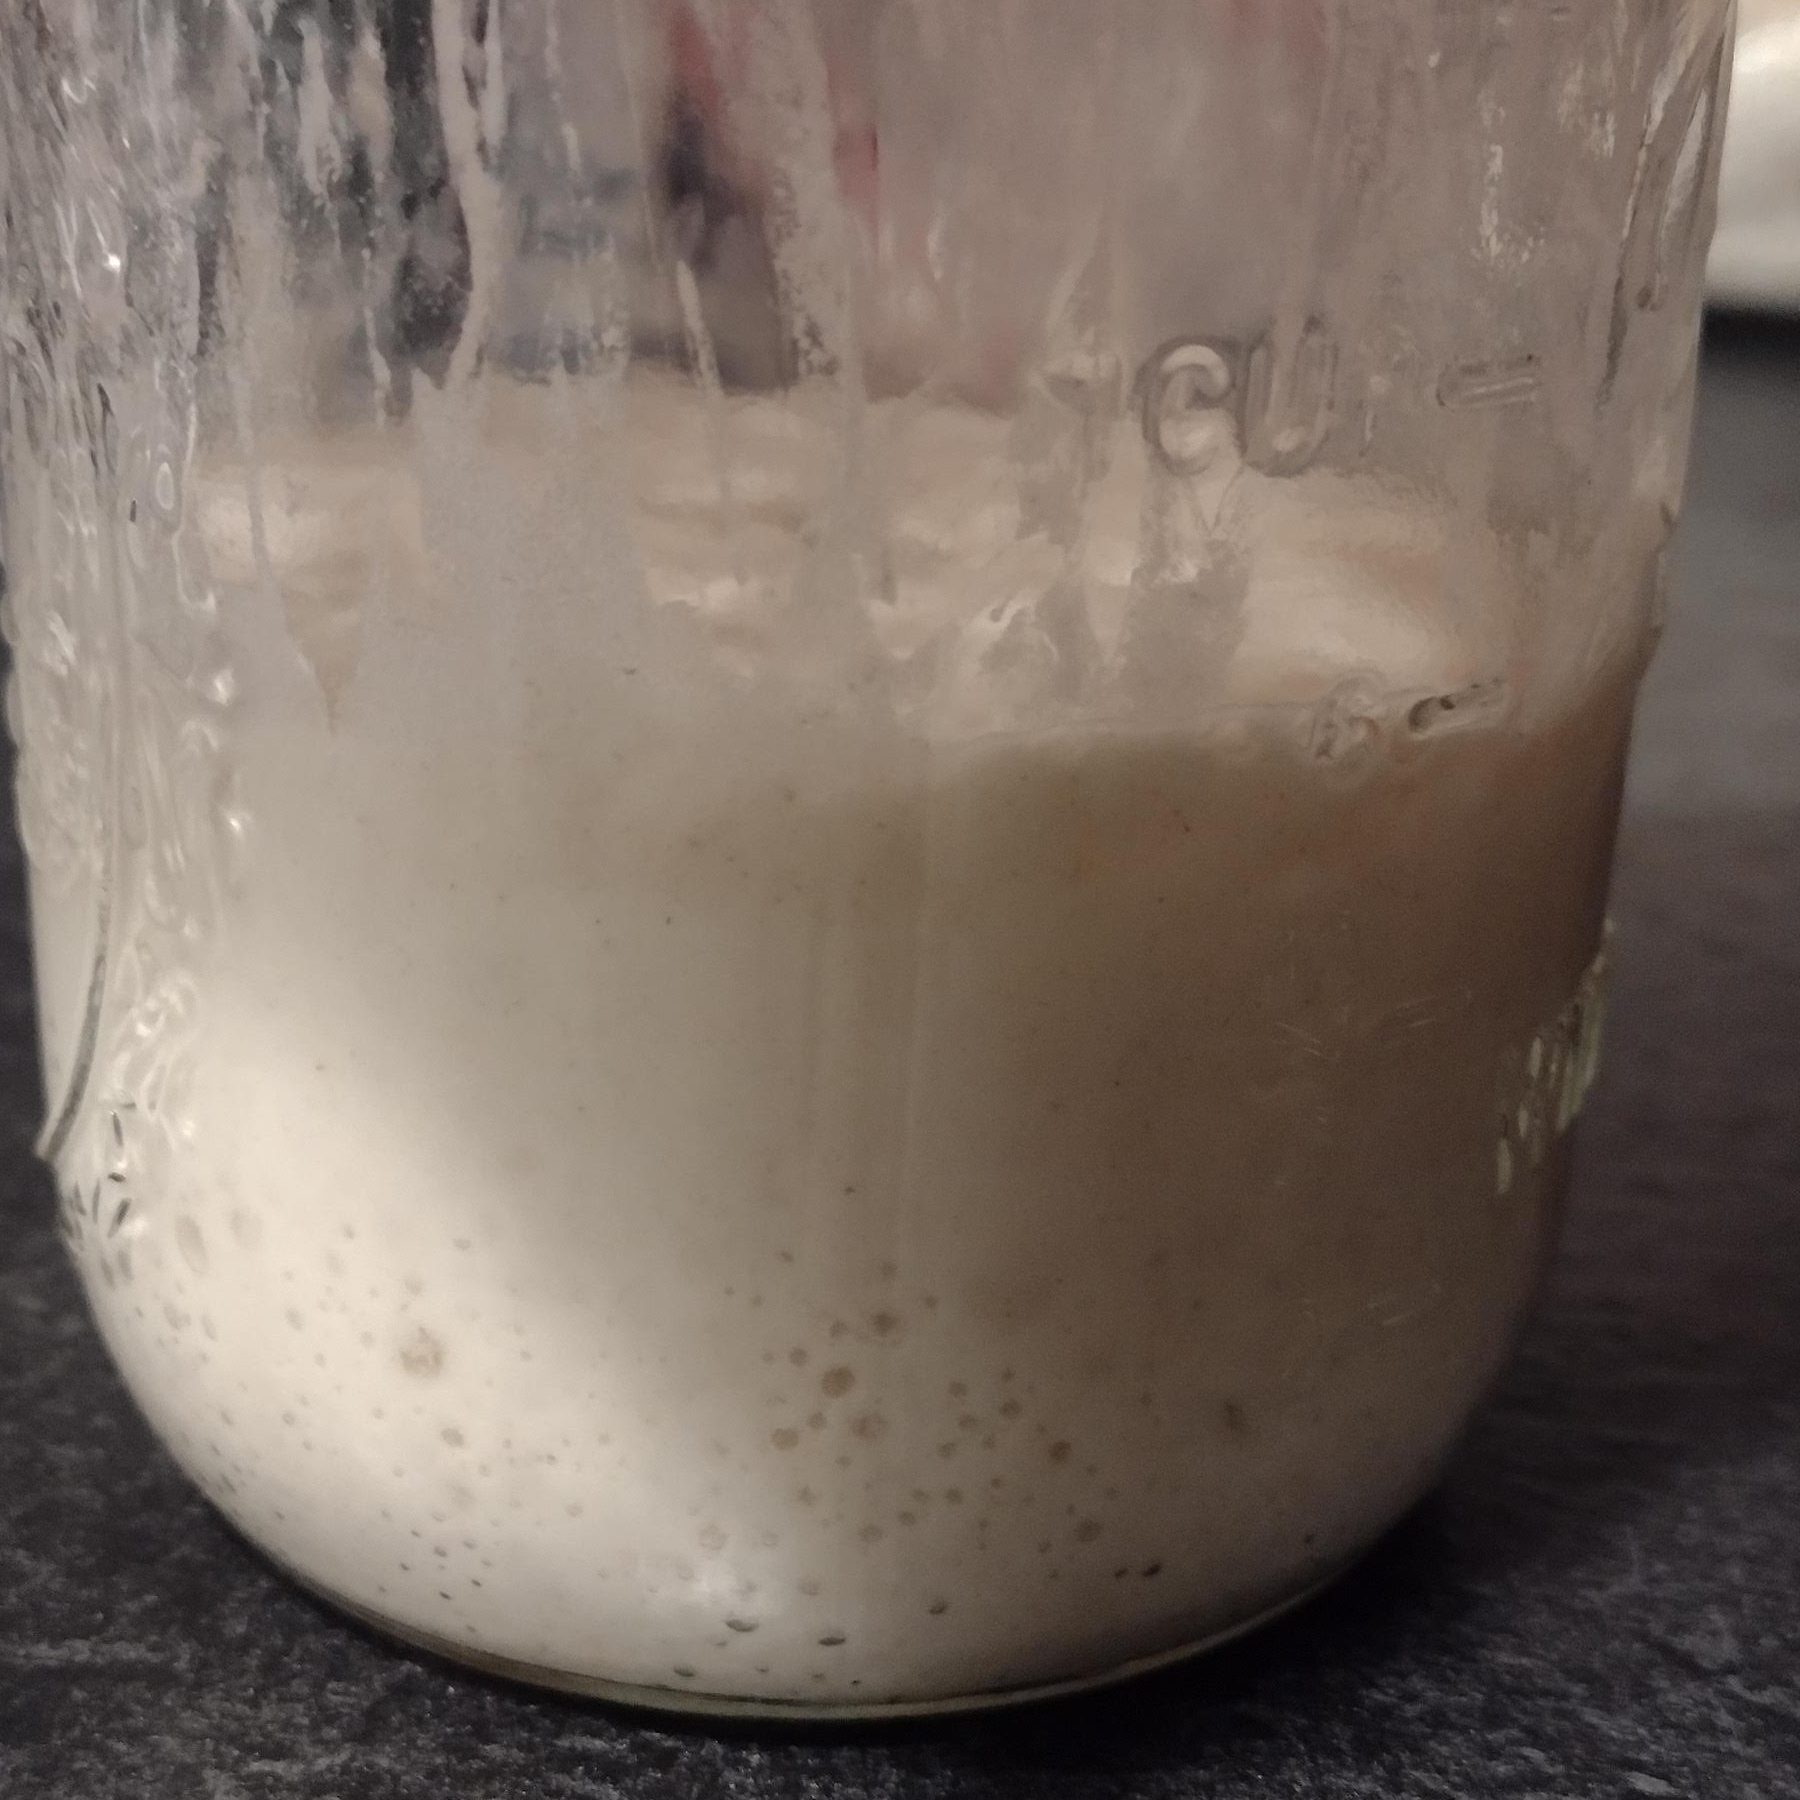
As your starter develops, you’ll want to watch for an increase in height from the bubbles. It sometimes helps to place a mark on the jar to measure the rise. If you have a warmer kitchen, you might want to check this a little more frequently. Your starter may reach a more active state earlier than a starter in a cooler kitchen. If your starter is reaching this active state sooner than that 24 hour mark, go ahead and wait until the starter has fallen a little before discarding and feeding again.

Once you notice that you’re getting consistent bubble action like the picture above, it’s time to test your starter! A great method is the float test. If your starter is active and bubbly it should float when placed in some water. So, just as if you were going to discard, scoop out some bubbly and active starter and pour in some water in a jar or bowl. If it floats, your starter is ready for use. If it sinks, take a look at the consistency of the starter. Does it appear to be very thin like pancake batter or very thick like muffin batter? If it appears too thin, feed with a higher ratio of flour again. If it seems to be getting dry on top, feed with more water next time.
Something interesting about sourdough starter is that each one is unique. The wild yeast that is captured in your kitchen will be a little different from mine. Sourdough is a science, but it’s a science that is specific to your environment. It takes some trial and error, but it is all part of the learning process. I believe that creating your own starter is the best way for you to build a foundation of understanding to use the starter and create some delicious foods! So please, be patient with yourself and don’t give up.
If you have any questions, go ahead and leave me a comment! Also, if you plan on making your own sourdough starter let me know. I’m here to help you along the way and encourage you through this so you can have confidence in making some delicious, healthy recipes for your family.